


Import Your Airbnb Listing to Homeyhuts | Airbnb Cloning
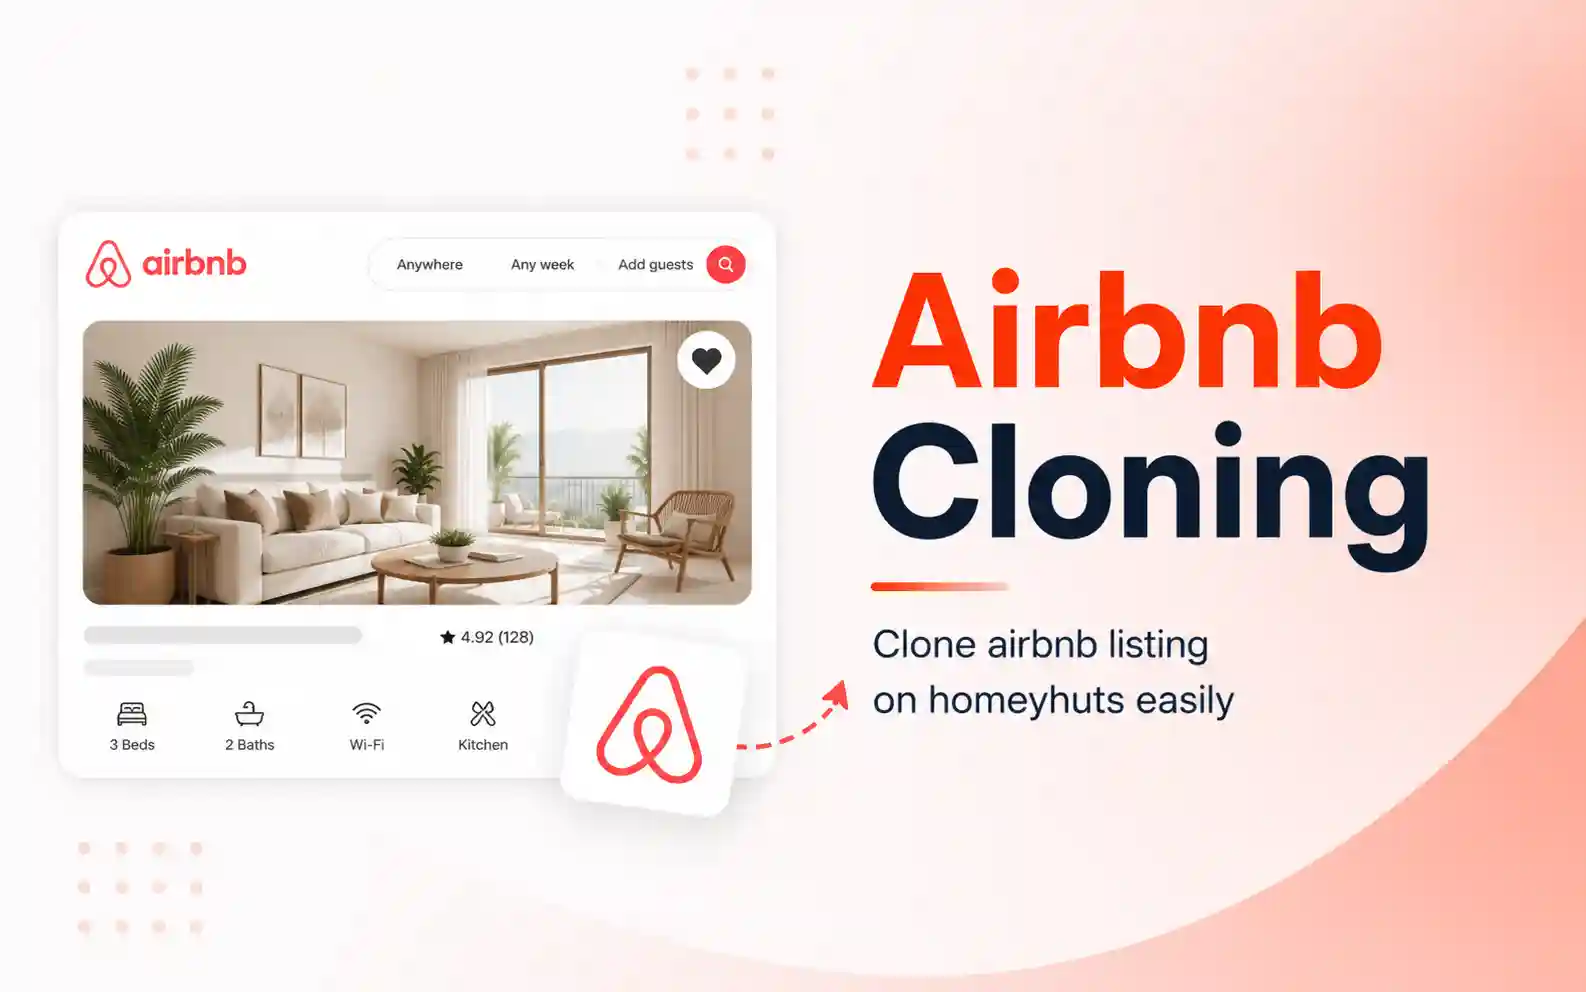
Import your existing Airbnb listings into Homeyhuts in just a few clicks. Save time by automatically importing your property details, photos, amenities, pricing, house rules, and more instead of creating a listing from scratch.
What is Airbnb Listing Import?
If you're already hosting on Airbnb, you've already invested time creating your listing—adding photos, writing descriptions, configuring amenities, setting pricing, and defining house rules.
With Airbnb Listing Import, Homeyhuts lets you import your existing Airbnb listings directly into your Homeyhuts account. Most of your listing information is automatically copied, allowing you to get your property ready in just a few minutes.
Instead of manually creating a new listing, simply connect your Airbnb account, select the listings you'd like to import, review the imported details, and publish.
What Gets Imported?
When you import an Airbnb listing, Homeyhuts automatically copies most of your listing information, including:
- Property Details
- Listing Title
- Description
- Photos
- Amenities
- Pricing
- House Rules
- Guest Capacity
- And much more
After the import is complete, you can review and edit any information before publishing your listing.
Before You Begin
Before importing your Airbnb listing, please keep the following requirements in mind.
One-Time Authentication
Airbnb requires a one-time authentication through Channex, Homeyhuts' technology partner.
This secure authorization allows Homeyhuts to access your Airbnb listings for import.
Listing Ownership
Only listings that you own can be imported.
If you're a co-host, you'll need access to the listing owner's Airbnb account to complete the import.
Existing Channel Manager
If your Airbnb account is currently connected to another PMS or Channel Manager (other than Homeyhuts/Channex), temporarily disconnect it before importing your listings.
Once the import is complete, you can reconnect it as usual.
Importing an Airbnb Listing
Follow these steps to import your Airbnb listings into Homeyhuts.
Step 1: Create a New Listing
Log in to your Homeyhuts account.
If you're creating your first property:
- Open the Navigation Menu.
- Select Create New Listing.
If you already have properties:
- Open Host Control Center.
- Navigate to the Properties section.
- Click Create New Listing.
Step 2: Select Import from Airbnb
Read the import requirements carefully.
Click Next, then select Import from Airbnb.
Step 3: Authenticate Your Airbnb Account
Click Continue to Airbnb.
You'll be redirected to Airbnb.
If you're not already signed in:
- Log in to your Airbnb account.
- Review the permissions requested.
- Click Allow to authorize Homeyhuts.
This authentication is required only once.
Step 4: Select the Listings to Import
After authorization, Homeyhuts will display all Airbnb listings associated with your account.
Select the property (or properties) you'd like to import.
You can import up to five listings at a time.
Click Import to begin.
Step 5: Review Your Imported Listing
Homeyhuts will automatically import your listing information.
The imported property will appear under the Properties section as a Draft.
Before publishing:
- Review all imported details.
- Update any Homeyhuts-specific information if required.
- Add any missing information.
- Verify pricing and property details.
Once everything looks correct, click Publish to submit your listing for review.
What Happens After Publishing?
After your listing is submitted, the Homeyhuts team reviews your property to ensure it meets our quality standards.
Most listings are reviewed within a few hours.
Once approved, your property will go live on Homeyhuts and start receiving bookings.
Why Use Airbnb Listing Import?
Instead of recreating your listing from scratch, Airbnb Listing Import helps you:
- Save hours of manual work
- Get your property live faster
- Reuse your existing listing information
- Import multiple listings together
- Reduce setup errors by automatically copying property details
Best Practices
- Ensure you're signed in using the Airbnb account that owns the listings.
- Disconnect any existing Channel Manager before importing, if required.
- Review every imported listing before publishing.
- Update any Homeyhuts-specific details after the import.
- Publish your listing only after verifying all imported information.
Watch Video Tutorial:
Web - https://youtu.be/d8XgXbMElqU
Mobile - https://youtu.be/Jzd_tvCYTbQ
Was this article helpful?
Related in Homeyhuts App Tutorials
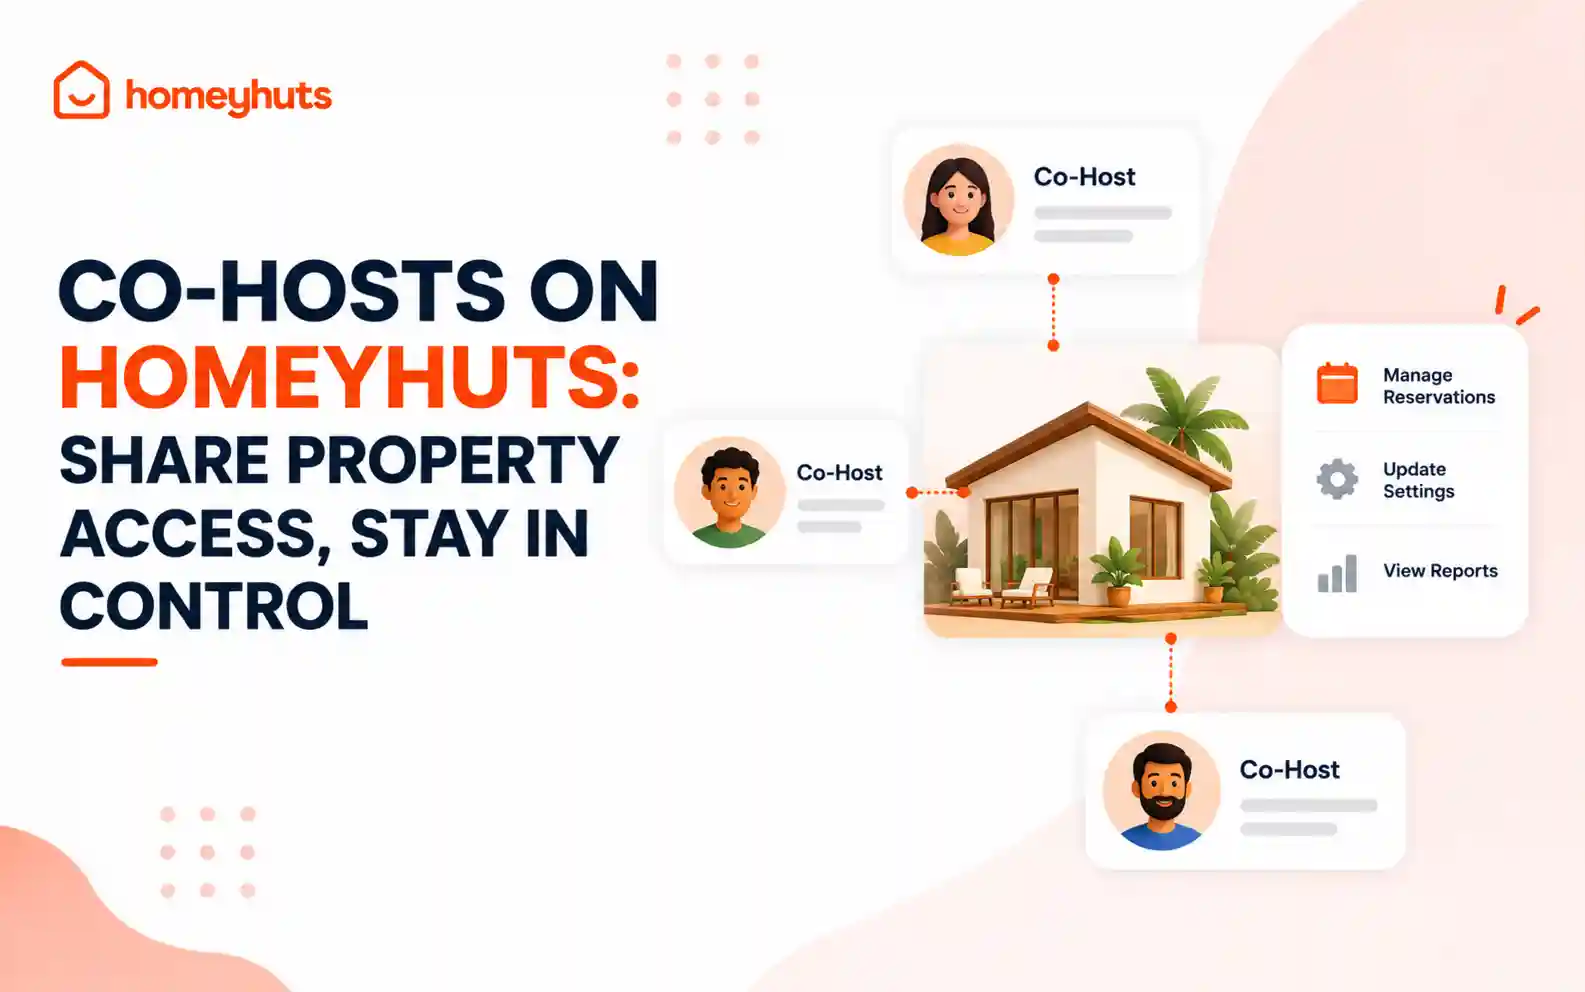
Co-Hosts on Homeyhuts: Share Property Access, Stay in Control
Invite up to 10 co-hosts to help manage your property on Homeyhuts. Choose exactly what each co-host can view or manage, customise their access at the listing level, and track their activity—all without sharing your login credentials.
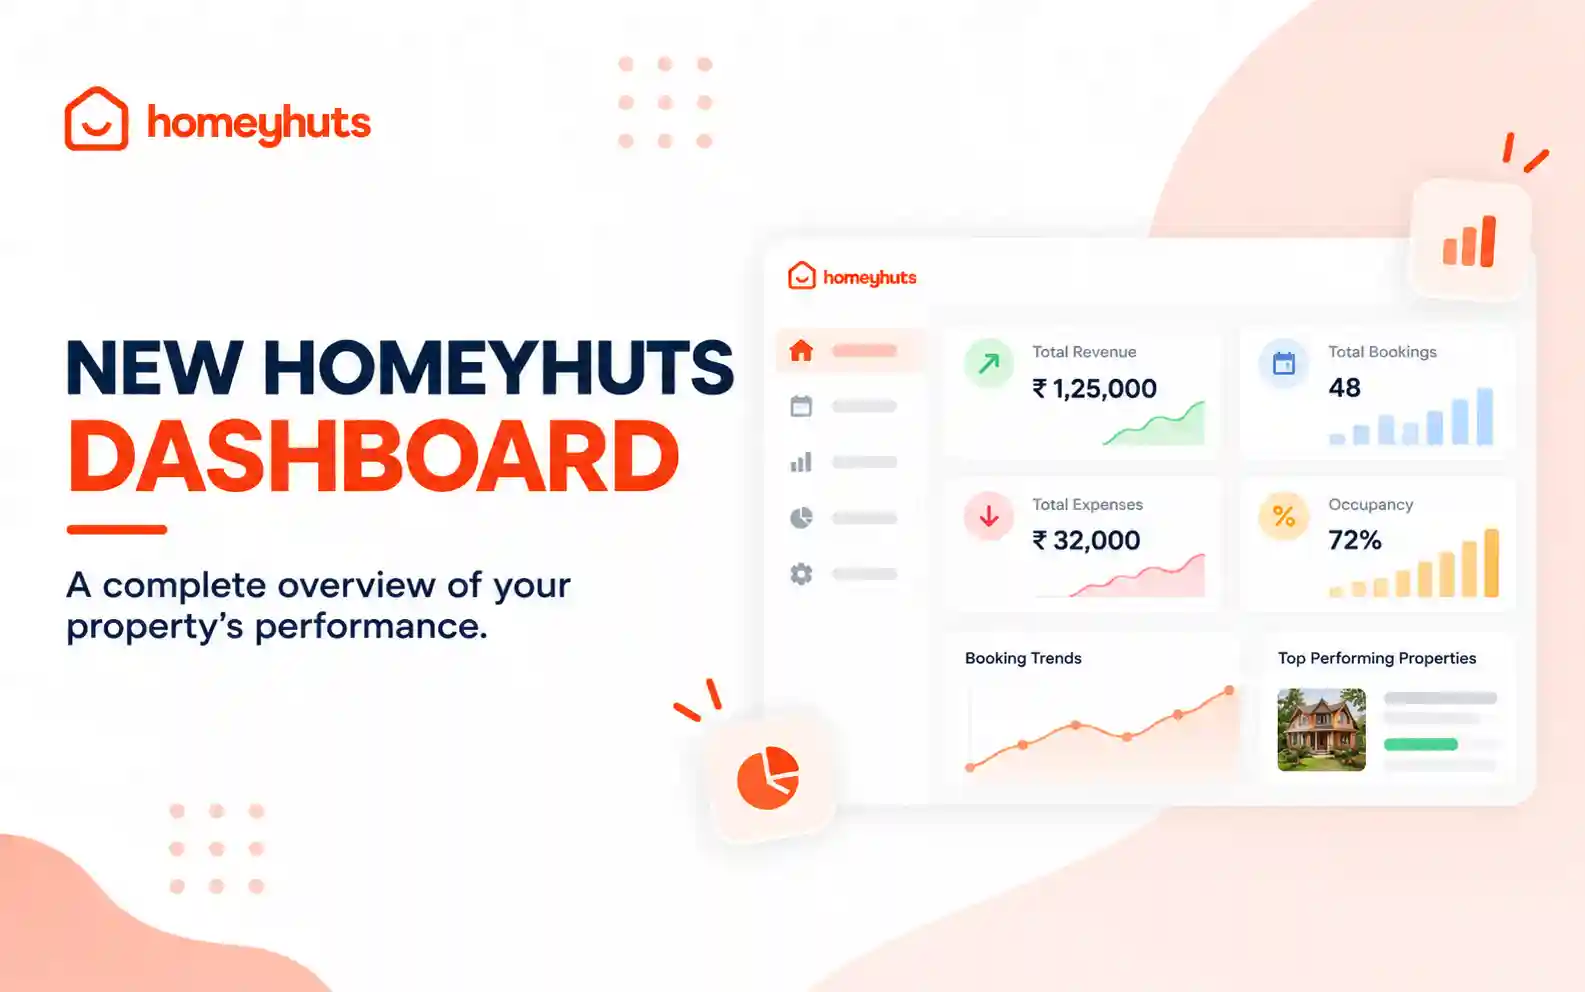
New Homeyhuts Dashboard: A Complete Overview of Your Property's Performance
Get a complete view of your property's financial performance, bookings, expenses, and occupancy with the new Homeyhuts Dashboard. Track revenue, analyze booking trends, compare property-wise performance, and monitor upcoming occupancy all in one place.
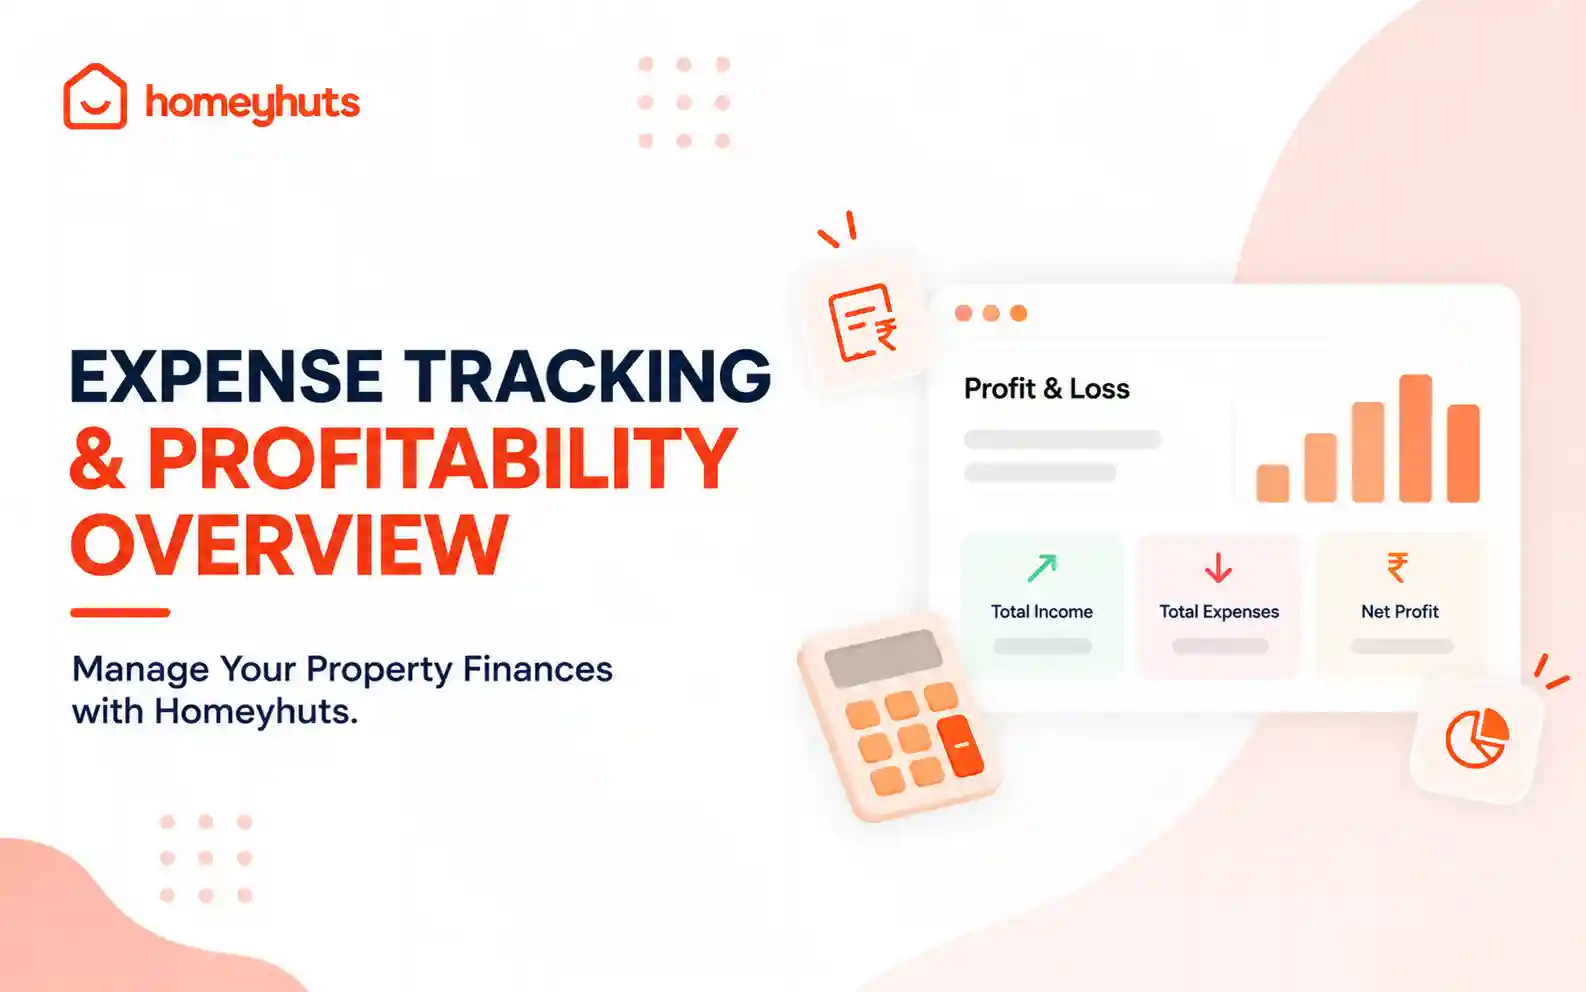
Expense Tracking & Profitability Overview: Manage Your Property Finances with Homeyhuts
Track and manage your property expenses with Homeyhuts. Record spending, organise expenses, and view your property's earnings, total expenses, and net income through a property-wise Profit & Loss (P&L) statement all in one place.