


Homeyhuts Listing Manual: Create & Publish Your Propert
Follow this step-by-step guide to create a complete property listing on Homeyhuts. Learn how to add property details, upload photos, configure pricing and policies, publish your listing, and connect it with OTAs for seamless booking management.
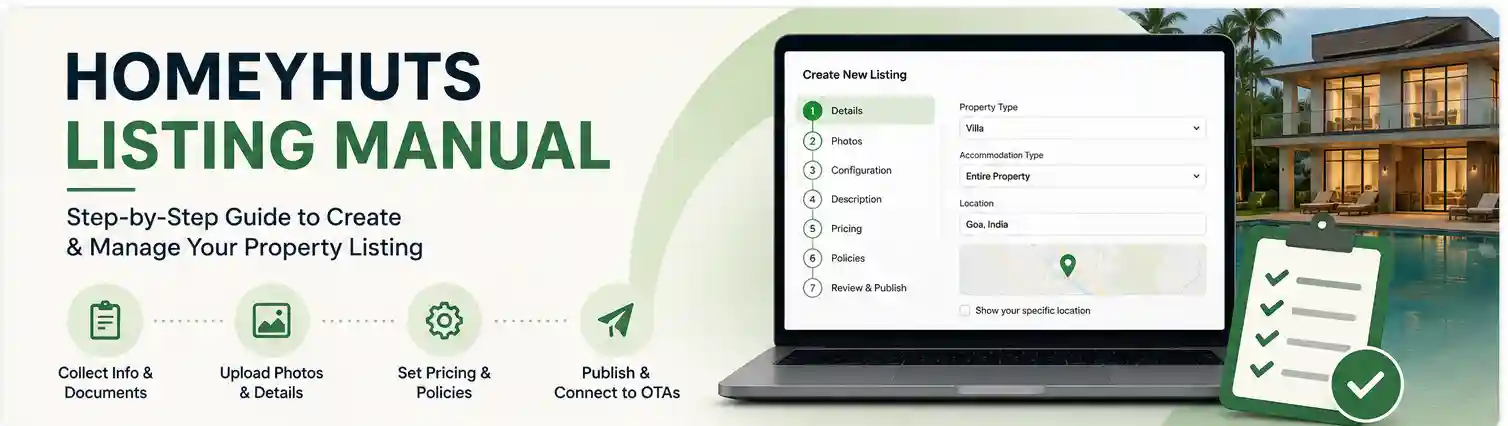
Homeyhuts Listing Manual
Step-by-Step Guide for Creating a Property Listing on Homeyhuts
This manual explains the complete process of listing a property on the Homeyhuts platform.
Step 1: Collect Property Information from Owner and start listing
Before starting the listing process, gather all necessary details from the property owner
Through audit call
Keep property images sorted and edited on hand
Prepare pricing sheet and share it with owner
Take confirmation on name change if needed
Confirm configuration with owner
Collect the KYC documents
Listing process
Click on the create new listing to start a new listing
Select your property type
Select accommodation type by factoring that whether the property is Selling as entire property or Private room in a shared accomodation
Update Homeyhuts as a property manager for Managed by HH properties
Update the property location and verify in the Map. Also keep it off “show your specific location”
Step 2: Upload Property Images
Images are critical for booking conversions. And arrange the first 5 photo as the best photos, like Exterior view, living area, bedroom. Pool, Kitchen any other unique elements of the property.
Required Photos
- Property Exterior
- Room Interior
- Bathroom
- View from Property
- Amenities Area
- Dining Area
- Surroundings
Image Guidelines
- Minimum 10–15 images
- High resolution
- Landscape format preferred
- No watermark
Submit any of the mentioned proof of ownership of the owner. You can also upload other documents as well like owner documents (Aadhar, any other IDs of the owner)
Step 3: Update Property Configuration and guest count
Identify the exact room configuration.
Example Configuration
- Entire Property (5BR Villa) and Keep the max Guest count as Guest Allowed
Note: keep the guest count to 18 max at first only if the actual guest count is 19 or more, (since max occupancy on Channex is 18), later after creating base rate for CM connection can increase the guest count
Update the amenities by checking the audit sheet of the particular property
Then you can select up to 4 unique elements of the particular property on the next step
Also you can update up to 4 experiences which is offered by the property if it is applicable
Step 4: Property Description Creation
Prepare structured and attractive description by using the Homeyhuts description Template and you can update the same here
Also update neighbourhood details on the coming step
Step 5: Set Pricing
Define pricing for the listing, preferably a higher price as default price. Once the property live, we can optimize the year around pricing.
Update check in time as per the information from audit sheet
On the next step you can update about exterior camera whether it is there or not
Keep instant booking off until a instruction came from our sales team or from the owner
Step 6: Set Policies
- Policies must be clearly defined. Keep the policy as Moderate policy as we are following a flexible policy for all properties under Managed by HH
- Update the house rules by factoring the information from the audit sheet and paste the additional house rules template in the additional rules part
- Update check in method and add check-in instruction as per our common template. For Hyderabad / Andhra properties add the dedicated check in instruction template which have Telugu playlist
- Finish the listing, then it will go to pending for approval
Step 7: Post Listing Management
Quality Check
after publishing the listing verify:
Property name spelling
Room configuration accuracy
Pricing accuracy
Image quality
Map location accuracy
Policies added
Update Year around Calendar and Update promotion as 30% for HH managed properties also add Extra guest price
Update owner details from Admin portal
Update owner's bank account details from admin panel
Then assign Host and owner from Admin portal
On properties – Verification tab – search the property to be activate – click on the listing
Make the status into published by clicking the top right option of Status
Once listing is live you can proceed with Channel Manager OTA Integration
Connect the property with OTA platforms.
- Airbnb
- MakeMyTrip
- Booking.com
- Agoda
Outcome:
After completing these steps, the property will be fully active on Homeyhuts and integrated with OTAs for booking management. Then sales team can take care of the listing for future bookings.
Was this article helpful?
Related in Guides & FAQs
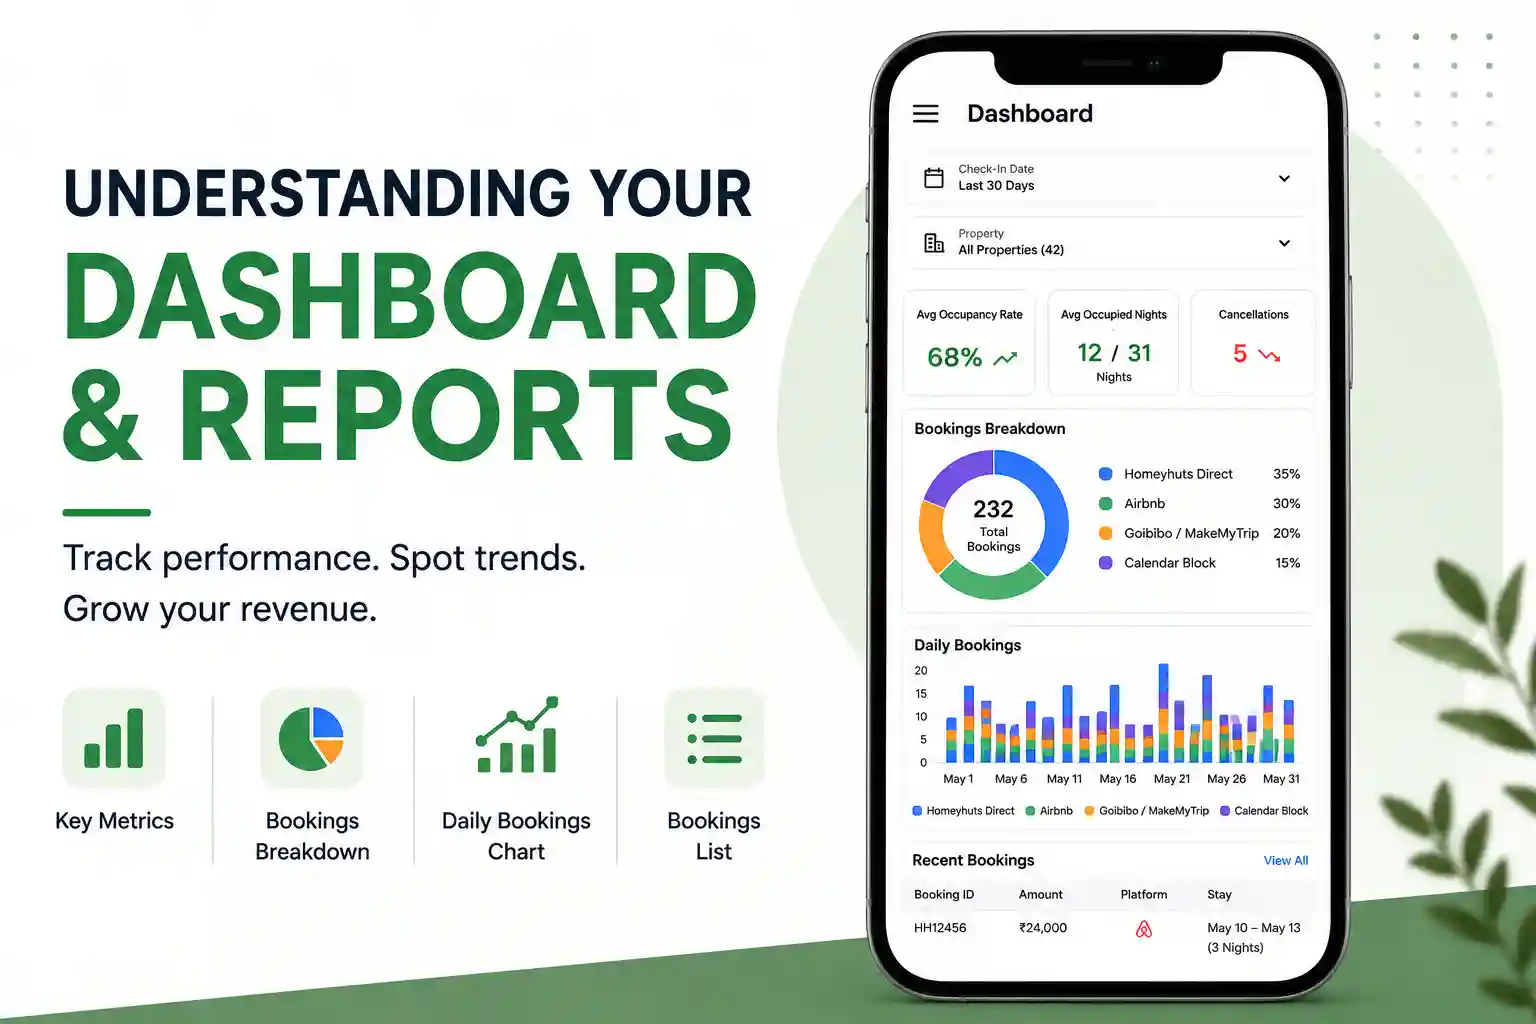
Understanding Your Dashboard and Reports
Learn how to use the Homeyhuts Dashboard to monitor bookings, occupancy, revenue, cancellations, and booking sources. This guide explains every section of the dashboard so you can easily track your property's performance and make informed decisions.
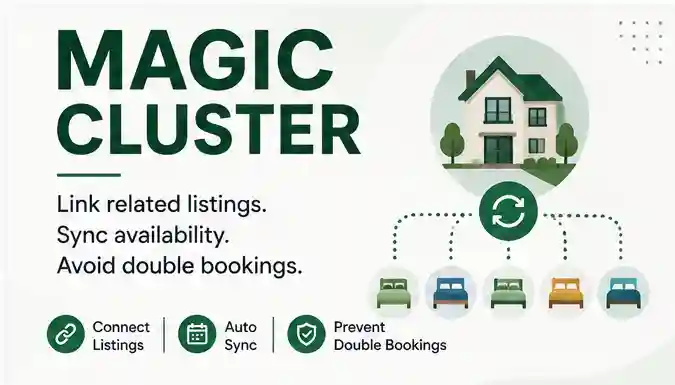
Magic Cluster: Link Multiple Listings & Prevent Double Bookings
Learn how to use Magic Cluster to connect your entire property and room listings, automatically synchronize availability, and prevent double bookings across all your connected OTAs.

How to Start an Airbnb or Homestay Business in India Without Owning a Property
Learn how to start an Airbnb or homestay business in India without owning property. Understand regulations, business models, platforms like Homeyhuts and essential skills. Ideal for aspiring hosts under the Incredible India scheme