


How to Create and Manage Offline Reservations
Learn how to create, edit, and manage offline reservations in Homeyhuts. Record bookings received through phone calls, WhatsApp, walk-ins, social media, or your own website to keep your calendar updated and prevent double bookings.
How to Create and Manage Offline Reservations
Offline reservations allow you to record bookings received outside online travel platforms, such as phone calls, WhatsApp, Instagram, your own website, walk-in guests, or repeat customers. Once added, these bookings appear alongside your OTA reservations in the Unified Calendar, helping you manage availability from one place and avoid double bookings.
Before You Begin
Make sure you are logged in to your Homeyhuts account and have access to the property for which you want to create the reservation.
How to Create an Offline Reservation
Step 1: Open the Host Control Centre
- Log in to your Homeyhuts account.
- Click the three-line menu in the top-right corner.
- Select Host Control Centre.
Step 2: Open the Calendar
Navigate to the Calendar from your dashboard.
Step 3: Start an Offline Booking
There are two ways to create an offline reservation:
Option 1: Create a Booking from the Calendar
- Click on the desired check-in date for the property.
- Select Create Offline Booking.
Option 2: Use the Create Offline Booking Button
- Click Create Offline Booking at the top of the Calendar.
- Select the property for which you want to create the reservation.
Step 4: Enter Guest Details
Provide the guest's information:
- Guest name
- Mobile number
- Email address (optional)
Step 5: Enter Reservation Details
Fill in the reservation details, including:
- Check-in date
- Check-out date
- Number of guests
- Check-in time
- Check-out time
Step 6: Add Payment Details
Enter the booking amount.
If you've already received an advance payment, record it in the booking.
Step 7: Upload Guest ID (Optional)
You can upload the guest's ID proof while creating the reservation or add it later before check-in.
Step 8: Save the Reservation
Review the booking details and click Save.
Your offline reservation will immediately appear in your Unified Calendar alongside your OTA bookings, ensuring your availability remains up to date across all connected platforms.
Managing an Offline Reservation
You can update or manage an offline reservation at any time.
Edit a Reservation
Open the reservation from the Calendar or the Reservations section, update the required details, and save your changes.
Cancel a Reservation
If the booking is cancelled:
- Open the reservation.
- Click Cancel Booking.
- Update the payment or refund details if required.
Once cancelled, the blocked dates become available again across Homeyhuts and all connected OTAs.
View All Reservations
You can view and manage both offline and OTA bookings anytime from the Reservations section.
Why Use Offline Reservations?
Recording offline reservations helps you:
- Keep all bookings in one place.
- Prevent double bookings across connected OTAs.
- Maintain an accurate occupancy calendar.
- Track direct booking revenue.
- Manage guest details and payments from a single platform.
Pro Tip
Create an offline reservation as soon as you confirm a booking with a guest. This immediately blocks the dates in your Unified Calendar and keeps availability synchronized across all connected booking platforms.
🎥 Watch the Tutorial (Web): https://youtu.be/WkwwdRpMXqo
🎥 Watch the Tutorial (Mobile): https://youtu.be/NLOyOvEQWuM
Was this article helpful?
Related in Homeyhuts App Tutorials
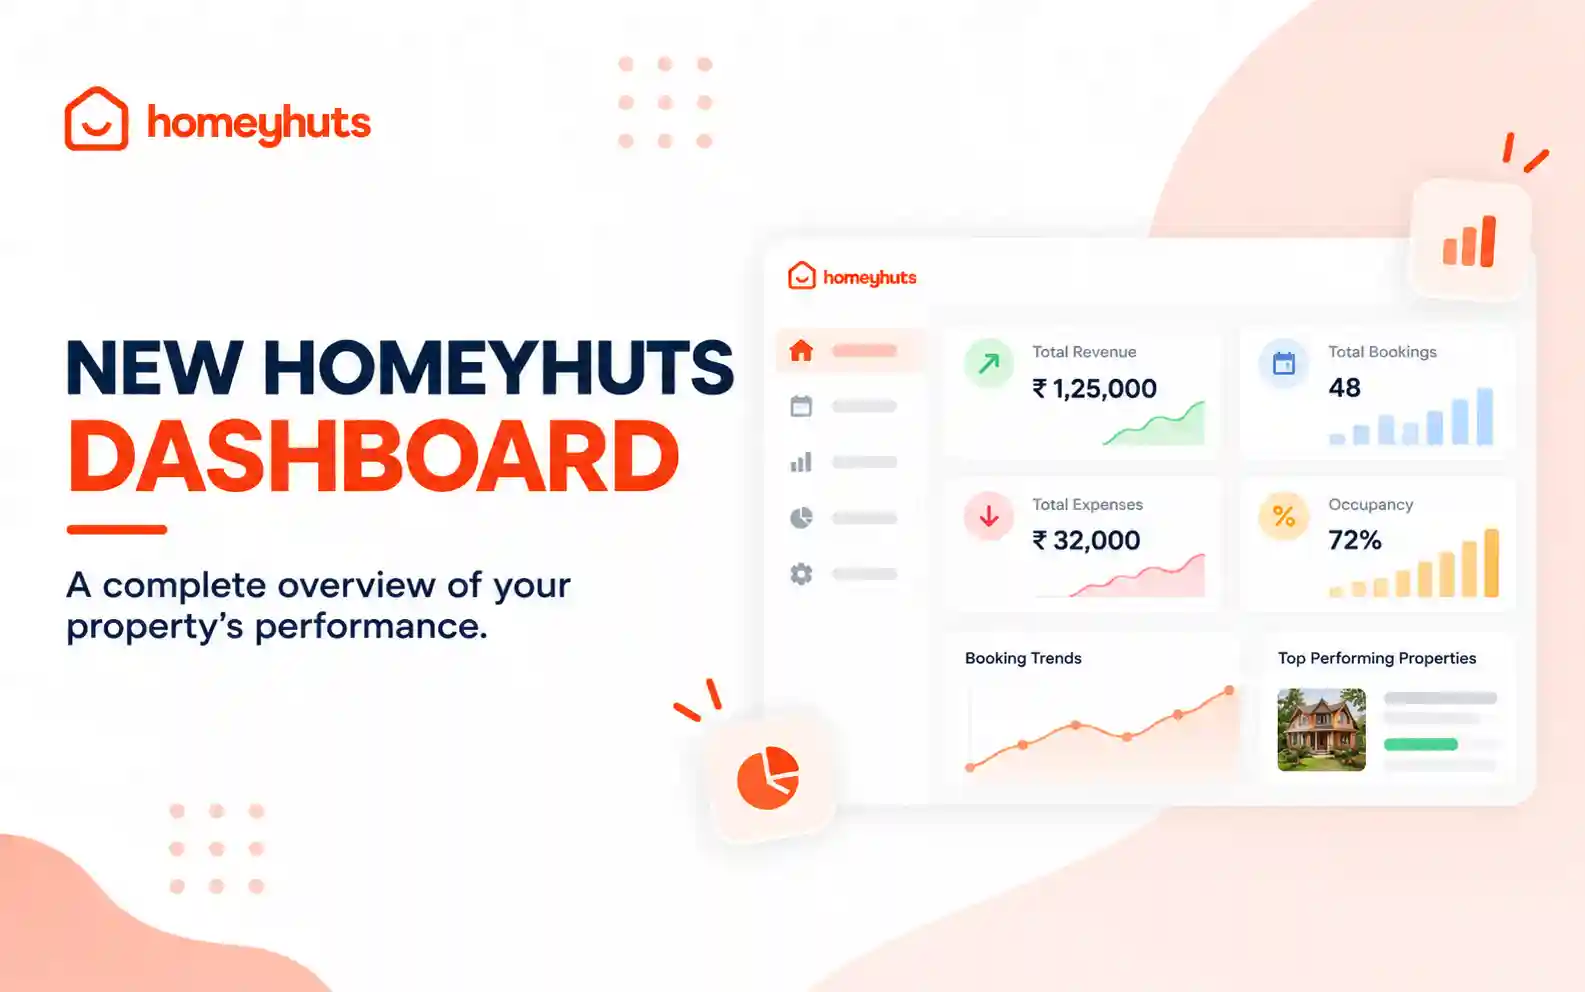
New Homeyhuts Dashboard: A Complete Overview of Your Property's Performance
Get a complete view of your property's financial performance, bookings, expenses, and occupancy with the new Homeyhuts Dashboard. Track revenue, analyze booking trends, compare property-wise performance, and monitor upcoming occupancy all in one place.
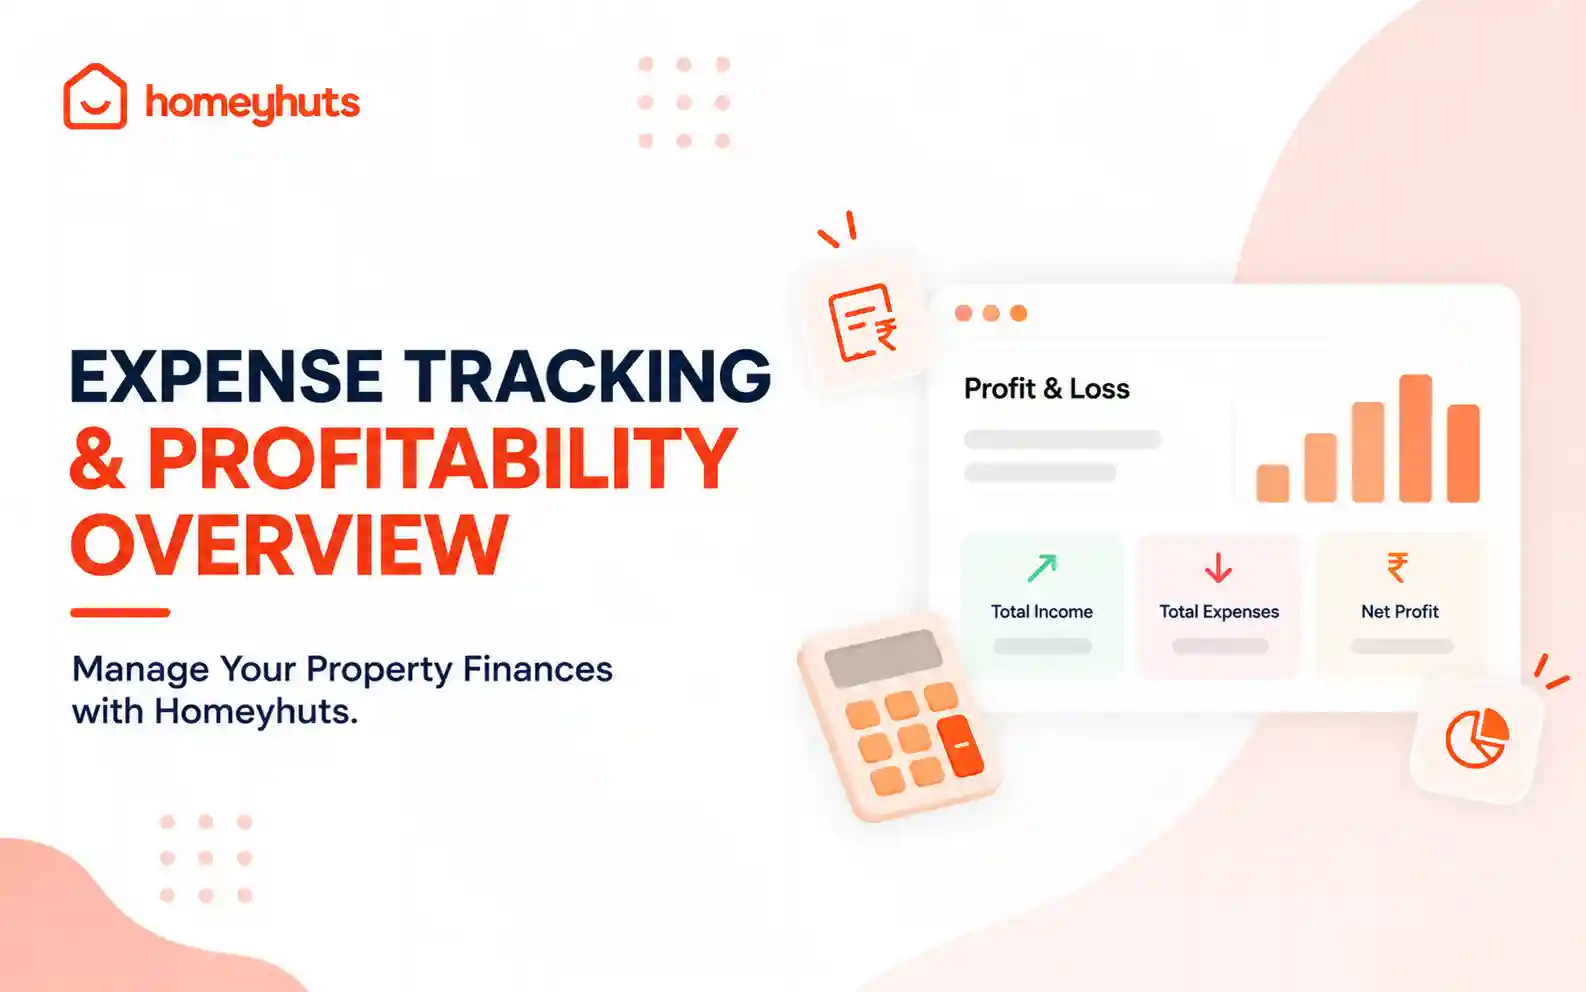
Expense Tracking & Profitability Overview: Manage Your Property Finances with Homeyhuts
Track and manage your property expenses with Homeyhuts. Record spending, organise expenses, and view your property's earnings, total expenses, and net income through a property-wise Profit & Loss (P&L) statement all in one place.
Discover How Homeyhuts Can Simplify Your Homestay Business
Explore how Homeyhuts brings your bookings, operations, pricing, guests, and business management together in one powerful platform.