

Capturing Stunning Photos for Your Vacation Rental Home with Homeyhuts
Learn how to take stunning vacation rental photos that boost bookings and guest satisfaction. Discover expert tips on interiors, exteriors, lighting, shot lists, and more.

Taking great Vacation Rental photos goes beyond just pointing a camera and clicking.
At first glance, Vacation rental photography might seem straightforward. You simply enter a home, take a few photos, and you're done, right? Not quite...
Successful real estate photography demands a sharp eye, a solid understanding of lighting, and the skill to make even the dullest rooms appear bright, welcoming, and comfortable.
We'll provide you with essential tips to help you launch and succeed in your real estate photography
Table of Contents
- How to shoot interiors of your property.
- How to shoot exteriors of your property.
- The ultimate real estate photography shot list.
Introduction
"A picture is worth a thousand words." This saying is particularly true when photographing your vacation rental. High-quality photos are crucial to attract potential guests and showcase your space at its best.
Importance of Quality Photos
- Impact on Bookings: Beautiful photos can make your listing more inviting and boost your occupancy rate.
- Search Rankings: Listings with attractive photos tend to appear higher in search results and receive more views.
- Guest Expectations: High-quality images set the right expectations for guests, reducing the likelihood of complaints and negative reviews.
- Competitive Edge: Professional-looking photos help your listing stand out from
How to shoot interiors of your property.
To get you started on the right foot, let’s go over all the real estate photography tips that every aspiring real estate photographer should have in their back pocket. Not only will these tips ensure you’re producing the highest quality content, but they will also lead to happier clients, more word-of-mouth recommendations, and ultimately, more revenue.
Whether you’re taking photos for the first time or want to update your listing to showcase changes you’ve made to your space, snapping great images with your smartphone/camera is easier than you may think.
Before you get started, identify the best lighting and stage your space using strategies from our photography tutorial.(Add a hyperlink here) . Set aside time to take five to six photos of each room.
- While taking photos, it’s important to understand how your listing photos are displayed on Vacation rental sites:
- Your first image is your cover photo, the main photo on your listing page and the one that shows up in search results.
- Your first five photos, including the cover photo, appear as a collage displayed at the top of your listing page and get cropped as square, so remember to centre your photo.
- Your image gallery contains all your photos for guests to browse.
2. Check your camera settings
Camera Settings
For Phones
For Digital Camera
Gridlines
Use Gridlines for composition
Use Gridlines for composition
Image stabilisation
Turn on
Turn on
Check the image resolution
Turn on HDR mode in your phone.
The sharpest photos have a resolution of at least 1024 x 683 pixels.
Focus Mode
Single Point AF or Manual Focus
Potrait (if required)
Turn off flash
Using a flash can create a harsh look, so bright, natural light is ideal.
Using a flash can create a harsh look, so bright, natural light is ideal.
White Balance
Auto adjusted
Set the white balance to match the lighting conditions (Auto, Daylight, Tungsten, etc.) for accurate color reproduction.
ISO
100 (If lighting permits)
Adjust based on lighting (usually Auto)
Photography Tutorial Guide
This photography tutorial will guide you through the essentials of capturing stunning images that will have potential guests booking their stay in no time.
Preparing Your Space
Declutter and Clean
- Declutter: Remove personal items and excess decor to make the space inviting but not overly personalized.
- Clean Thoroughly: Ensure every corner is spotless, including windows, floors, light switches, and door handles.
Staging
- Furniture Arrangement: Showcase the best layout, add fresh flowers, fluffed pillows, and neatly folded towels.
- Dining Area: Set the table as if hosting a posh dinner.
- Outdoor Spaces: Set up a bottle of wine and glasses on the terrace, or arrange a lounger by the pool with a book and towel.
Specific Room Preparation
Room
Preparation
Living Room
Open curtains, add magazines on the coffee table.
Bedroom
White sheets & comforter + colourful pillows. Natural light for an airy vibe.
Bathroom
Clean thoroughly, add candles and towels for a spa-like feel.
Kitchen
Ensure countertops are sparkling, utensils are neatly arranged.
Using Proper Lighting
- Natural Light: Shoot during the day with curtains and blinds open to capture bright and vibrant images.
- Avoid Artificial Lighting: Turn off overhead lights and lamps to prevent harsh shadows and unnatural colors.
Composition Techniques
- Rule of Thirds: Divide the frame into a 3x3 grid and place key elements along the lines or intersections.
- Leading Lines: Use lines within the space to guide the viewer’s eye through the photo.
Capturing Wide Shots and Details
- Wide Shots: Use a wide-angle lens or panorama mode to capture entire rooms.
- Detail Shots: Highlight interesting details such as decorative items, textures, and unique amenities.
Editing Your Photos
- Basic Adjustments: Increase brightness and contrast, adjust color balance, and enhance sharpness for a more vivid look.
- Editing Software: Use tools like Adobe Lightroom, VSCO, or Snapseed to enhance your images.
Exterior Shots
- Curb Appeal: Capture the front of the property, garden, and any outdoor amenities to provide a complete view of the location.
Highlight amenities
Guests appreciate knowing about special extras in your space so make sure to photograph noteworthy amenities. It’s helpful to capture them in the context of your greater space – for example, a wide-frame image of folded towels on a bench by a bath rather than a close-up of the bath’s fixtures.
Here are some examples of amenities you might photograph and mention in your captions:
- A laptop-friendly workspace
- Family-friendly items, like a high chair or cot
- Outdoor space, such as the patio, garden or balcony
- An espresso machine, coffee pot or tea service
- Premium toiletries, such as plush bath towels, bathrobes or slippers
How to shoot exteriors of your property.
While basic photography skills still matter, capturing exteriors requires specific techniques to truly showcase the property.
- The Sun's the Key!
Scheduling your exterior photoshoot around the sun's position can make a big difference. Here's a quick guide:
East-facing properties: Capture the morning glow! Aim for a morning photoshoot to bathe your property in warm, inviting light.
West-facing properties: Embrace the afternoon light. Schedule your shoot for the afternoon to showcase the property in a natural, sun-kissed look.
North-facing properties: Mid-day is your friend. Shoot between 10 am and 2 pm for even and balanced lighting.
South-facing properties: Capture the drama! Aim for sunrise or sunset photos to create dramatic lighting and enhance the property's curb appeal.
Remember, these are general recommendations. The key is to position yourself with the sun behind the property to avoid harsh shadows and create vibrant photos that will make your listing shine!
- Don't Be Afraid to Get Creative!
Just like any photography, exterior real estate shots benefit from exploring different angles. While experience helps you identify the most flattering perspectives, trying new approaches is always worthwhile. Experimenting can lead to unique photos that grab attention and set your listing apart. You might discover an angle that reveals a hidden gem or showcases the property in a way a standard straight-on shot wouldn't. So, have fun and get creative!
- Let There Be Light: Adding Sparkle to Your Exteriors.
The magic is in the details! Don't underestimate the power of exterior lighting to elevate your real estate photos. Turn on spotlights or other decorative fixtures to highlight architectural features and create a warm ambiance.
For an extra touch, consider turning on some interior lights during dusk or dawn photos. This technique adds depth and a welcoming, "lived-in" feel to your listing. By strategically using lighting, you can transform your exterior shots from ordinary to extraordinary.
- Beyond the Big Picture: Capturing Eye-Catching Details
While interiors offer more opportunities for close-up detail shots, don't neglect the exteriors! Be mindful of your surroundings and include captivating details within the frame.
For instance, imagine a property with a majestic maple tree. Capture it from an angle that incorporates the tree seamlessly, adding visual interest and highlighting unique features of the space.
By going beyond the standard wide shot, you can create a more captivating and informative experience for potential buyers who will appreciate seeing the property's unique charm.
- Take Flight with Drone Photography (Optional):
Drone photography is becoming increasingly popular in real estate photography. This allows potential buyers to see the property's location from above, showcasing the surrounding neighbourhood, street layout, and any features like a large backyard or scenic views.
Consider drone photography if:
- Location matters: The property is in a desirable area and highlighting its surroundings is a selling point.
- Land ahoy!: The property boasts a significant amount of land that a standard photo wouldn't fully capture.
Remember: Drone photography may have regulations in your area, so be sure to check local guidelines before using one.
The ultimate real estate photography shot list.
To help you get started on your photo shoot, we’ve created a list of recommended photos and angles.
Cover photo: This is the main shot , which you need to focus on capture it in wide angle showcasing the exterior of the property with a pool / view.
Bedrooms
- Wide photo of each bedroom
- 4-5 Shots of each bedroom
- Alternate angle of rooms for more context
- Mid-range image of primary elements, such as the bed and side table
- Close-up photo showcasing personality, such as a book or flowers on the side table
- Ensure white linens are set up on the bed along with rolled up towels.
- Close-up shots of the desk setup, highlighting features like a comfortable chair with a laptop prop and a coffee mug
Living room
- Wide photo of the whole living area (including light from a window if possible)
- 4-5 Shots of each living room include different settings (dining, sofa, games, tv unit)
- Mid-range image of a sofa or seating area
- Close-up photo highlighting personality, such as a fireplace
- Highlight amenities like TV, Dining space etc.
- Set up board games for an interactive photo
- Angled shots to showcase the layout and options for leisure activities.
Bathroom
- Wide photo of the primary bathroom
- 2 Shots of each bathroom (one closeup with toiletries and one with overview)
- Mid-range image of a secondary bathroom, featuring a bath or shower and sink
- Close-up photo of stacked towels or a window view.
- Close-up shots of features like the bathtub, jacuzzi, shower, or vanity area.
- Ensure the pot lids are covered, there are no cleaning supplies in the frame
- Use natural light, and vertical shots can be taken for smaller spaces like bathrooms
Kitchen
- Wide photo of the entire kitchen or kitchenette
- 4-5 Shots of Kitchen (different angles showcasing amenities)
- Mid-range image of the oven, next to neatly organised worktops
- Close-up of a flower arrangement in the centre of the table
- Close-up of a welcome basket of snacks for guests
- Highlight essential amenities in one photo (fridge, oven, stove,water purifier)
Outdoor
- Wide photo of a balcony, garden, patio or entire deck
- 5-7 Shots of outdoors (highlighting garden, pool , close up shots of nature , view)
- Mid-range image including any outdoor sitting areas (and potentially their view)
- Close-up photo of any thoughtfully styled decor, such as potted plants next to outdoor furniture
- A wide photo of the path to your entrance
- photograph features like a swimming pool, hot tub, or barbecue area to showcase recreational options.
- Set up a bottle of wine and glasses on the terrace, or arrange a lounger by the pool with a book and towel.
- Pool shot with floaters.
- Daylight is essential for outdoor photos
- Capture the exterior of your property from the front, showcasing the entrance and architectural features.
Additional Shots:
- View Shots: Frame the view! For properties with scenic views, capture shots from windows or outdoor vantage points to showcase the surrounding landscape.
- Sunrise/Sunset Shots: Capture the ambiance of your property during different times of the day, especially during sunrise or sunset, to highlight its natural beauty.
- Seasonal Shots: If applicable, take photos of your property during different seasons to showcase its versatility and appeal throughout the year.
- Guest Amenities: Capture shots of amenities like welcome baskets, toiletries, or complimentary snacks to highlight the hospitality offered to guests.
- Post a picture of owner, caretaker or manager with property welcoming the guests.
Since you know your space best, put yourself in the guest's shoes. Photograph all the charming details and amenities that have received positive feedback in reviews. Finally, before wrapping up, take some time to review all the photos and ensure you've captured the highlights that will attract potential guests.
Frequently Asked Questions
Question
Answer
How many photos can you put on a listing?
Quantity isn't the goal! While the number of photos can differ depending on the property, prioritize capturing 20-30 exceptional images.
What equipment do you need?
A digital camera with adjustable settings and a tripod, or a cellphone with a stand.
What should be your first picture?
A high-quality, eye-catching photo showcasing the property’s best features.
What should I do if my property has construction or minor damage?
Be transparent about any ongoing construction or minor damage. Avoid photographing these areas if possible, but don't hide significant issues as it can lead to negative reviews.
Should you DIY or hire a photographer?
DIY is possible with the right techniques and equipment, but a professional photographer can ensure the best results.
BONUS TIPS
Tip
Description
Camera Positioning
Lower camera to waist level for a natural look.
Captions
Highlight features with short descriptions.
Hero Photo & Title
Make first photo and title appealing to attract viewers.
Photo Organization
Group photos by room for easy visualization.
Shooting Angles
Mix high and low angles for variety.
Corner Shots
Capture rooms diagonally for depth and spaciousness.
Lighting
Use natural light for bright, inviting photos.
Vary Lighting
Try sunrise, sunset, and nighttime outdoor/balcony shots.
Avoid Flash
Flash creates harsh shadows and unnatural look.
Multiple Photos
Capture multiple shots for best results.
Strategic Styling
Add a human element, props for empty spaces, and showcase the local area.
No Collages, Logos, or Text
Avoid personal information in photos
Be Transparent About Flaws
Disclose flaws to avoid bad reviews.
Bathroom Photos
Keep toilet seat down and hide cleaning supplies.
Photo Editing Software
Enhance photos with VSCO, Lightroom, or Snapseed.
Photo Tour Order
Start with main bedroom, followed by bathroom, kitchen, living areas, and other rooms.
Showcase Best Photos First
Highlight the most attractive photos first.
Avoid Mirror Reflections
Don't capture yourself or the camera accidentally in mirrors.
Ready to make the most of your hosting journey? Partner with Homeyhuts to simplify property management and maximize your rental potential. Our platform offers cutting-edge solutions to help you attract more guests and achieve greater success.
Visit: Homeyhuts | Homestays & Unique Vacation Rentals in India | Hosts Earn More with Us
Was this article helpful?
Related in Host Knowledge Hub
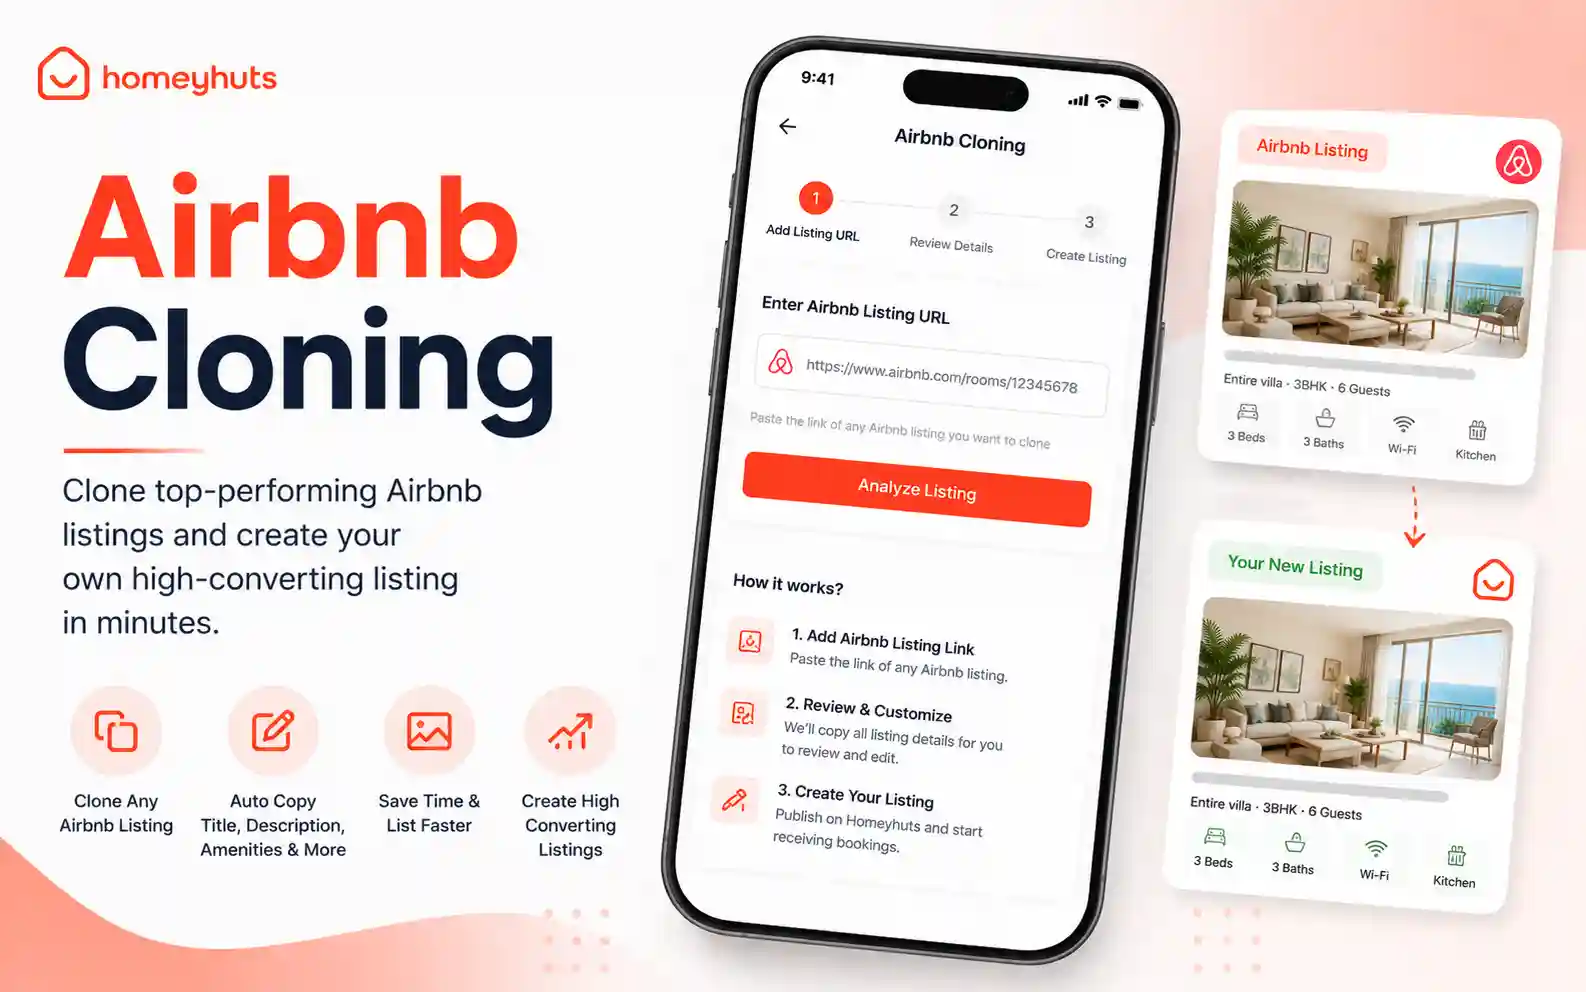
Import Your Airbnb Listing to Homeyhuts | Airbnb Cloning
Import your existing Airbnb listings into Homeyhuts in just a few clicks. Save time by automatically importing your property details, photos, amenities, pricing, house rules, and more instead of creating a listing from scratch.
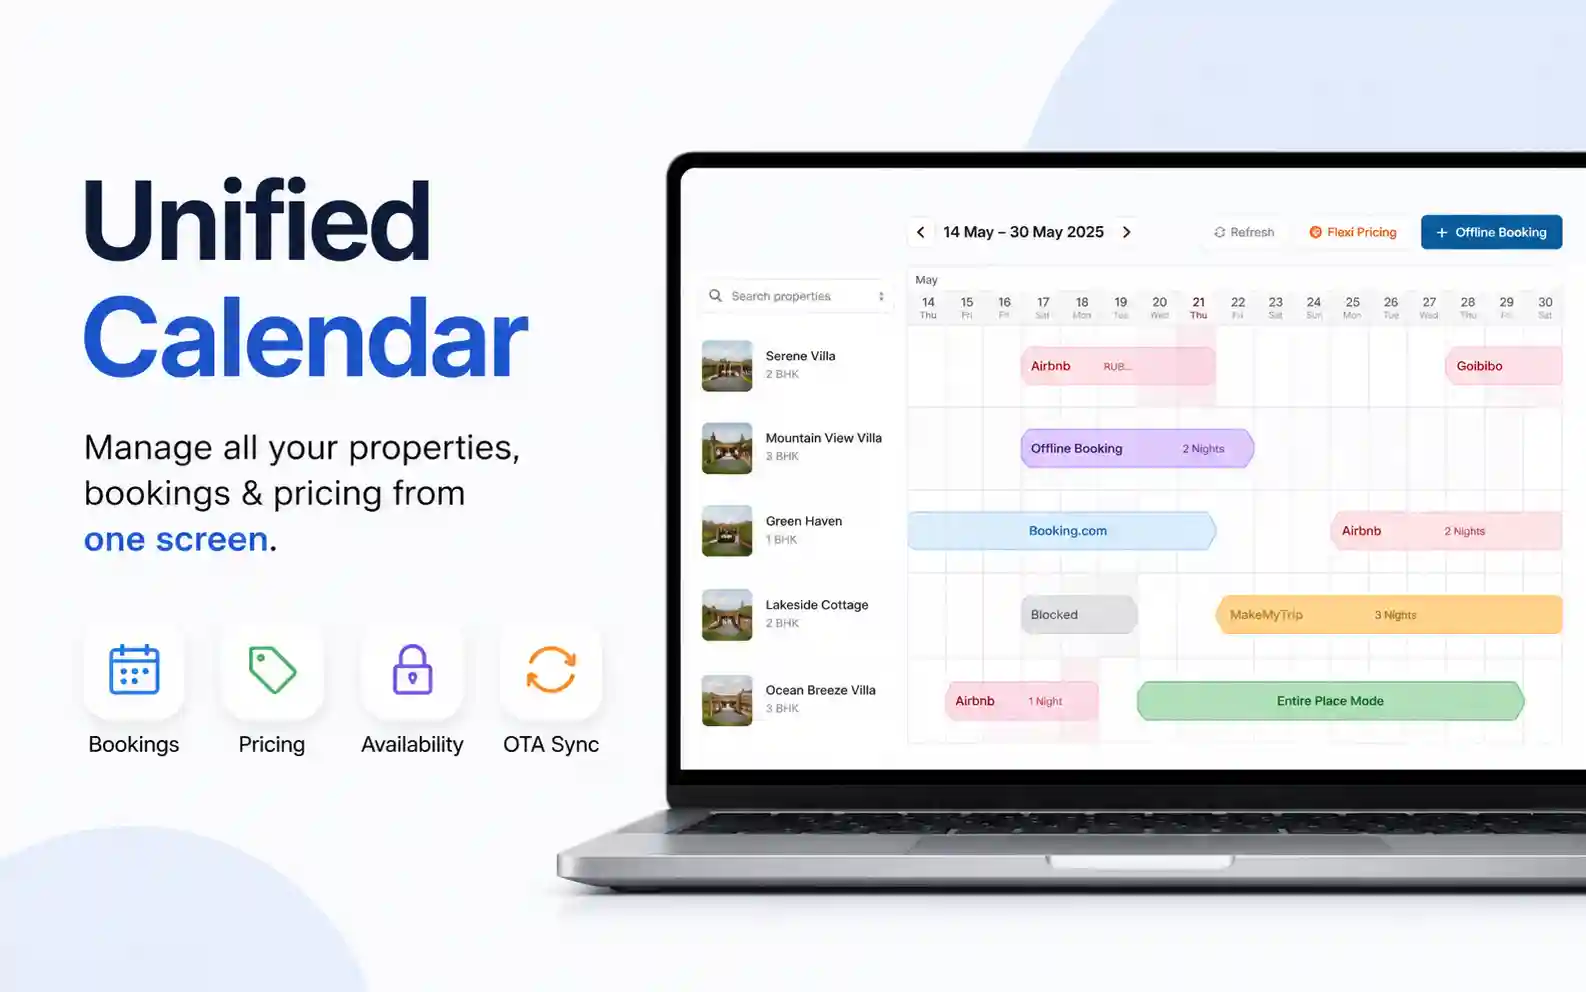
Unified Calendar: Manage Your Entire Homestay Business from One Screen
Managing multiple properties shouldn't mean switching between multiple calendars. The Homeyhuts Unified Calendar brings all your bookings, pricing, availability, OTA synchronization, and offline reservations into one centralized dashboard, helping you manage your entire homestay business from one screen.

How to Download Booking Reports
Export your booking reports from Homeyhuts in Excel format to analyze reservations, track revenue, reconcile bookings, or maintain your own records. This guide explains how to filter and download reports in just a few steps.